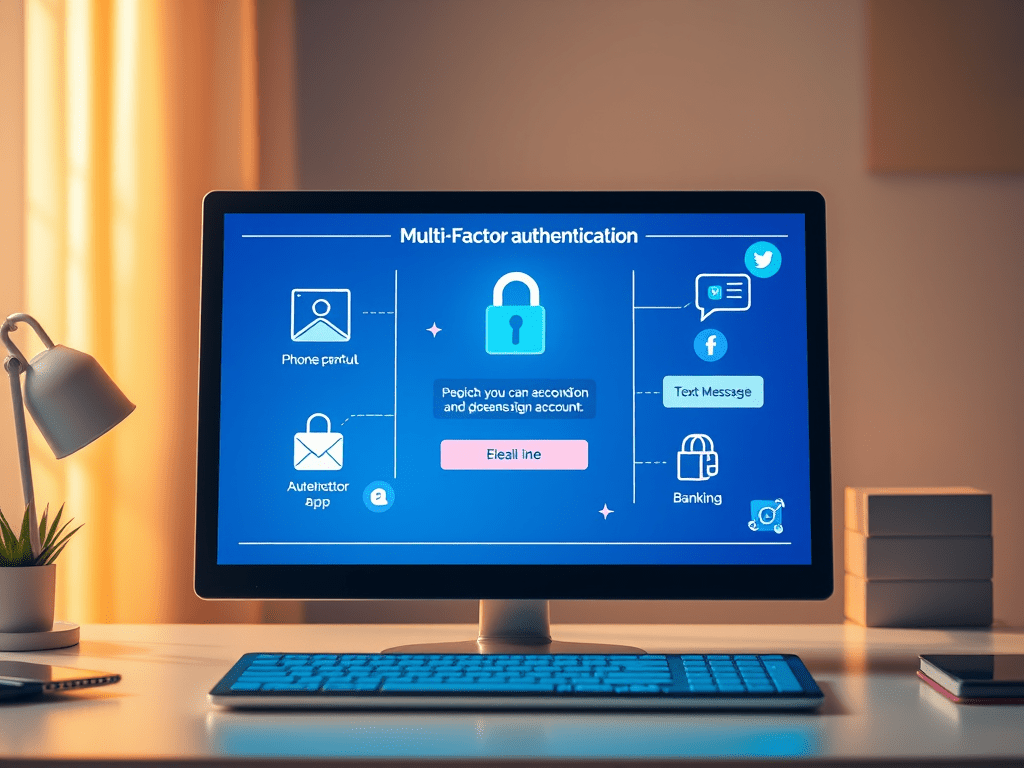
Strong passwords are important, but they’re not always enough. If an attacker gets your password, they can walk right into your account. That’s why multi-factor authentication (MFA) is one of the best defenses you can set up. MFA adds an extra layer of security by requiring something more than just a password — like a code sent to your phone or generated by an authenticator app.
Why MFA Matters
- Stronger security – Even if your password is stolen, your account stays protected.
- Widely available – Most email, social media, and banking apps support MFA.
- Simple to use – A quick extra step at login can save a lot of trouble later.
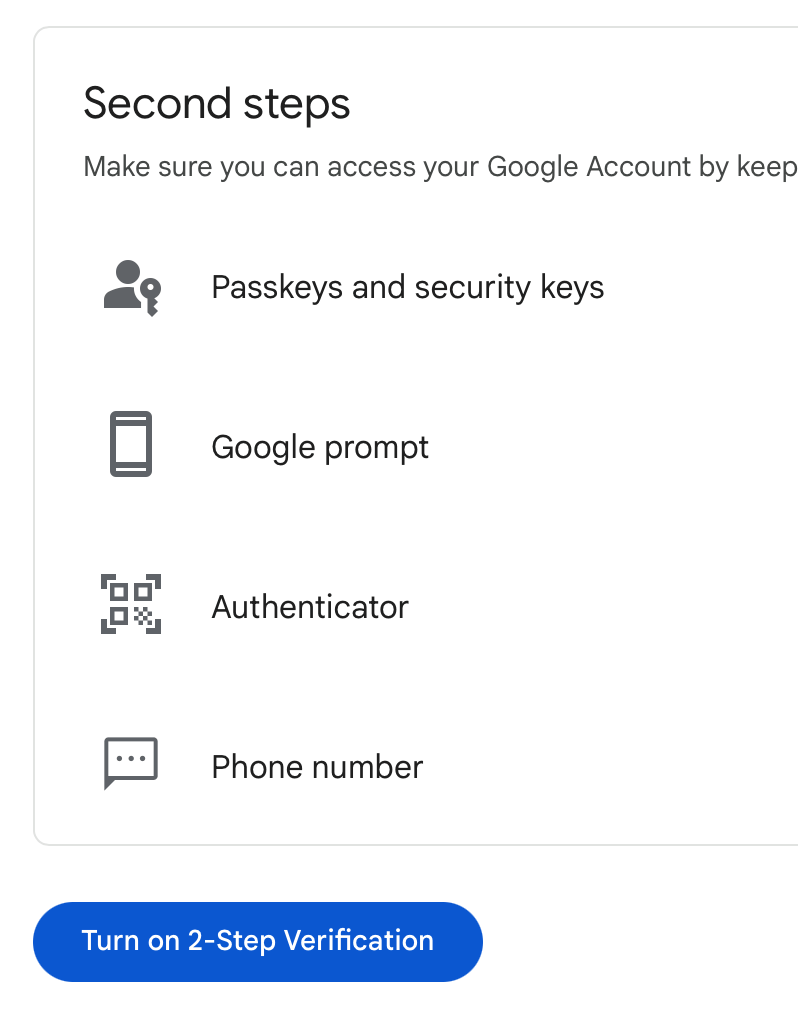
How to Enable MFA (Example: Google Account)
- Go to myaccount.google.com.
- In the left menu, click Security.
- Under “Signing in to Google,” select 2-Step Verification.
- Choose a second steps and Turn on 2-Step Verification
- Phone prompt (tap “Yes” on your phone)
- Authenticator app (Google Authenticator, Authy, Microsoft Authenticator)
- Text message code
- Follow the prompts to finish setup.
Activity: Document Your MFA Setup
- Read up on Authenticator VS SMS
- Pick one account you use often (email, bank, or social media) and look up how to enable MFA using either an authenticator app or text message. Note: this should be a different platform from the GMAIL example above. If you don’t have another account, consider creating an account on a social media platform just for testing purposes. Or if you have already set up MFA on your other accounts, simply provide step by step instructions on what you did along with a screenshot (see below; step 4).
- Complete the setup.
- Take a screenshot of the confirmation screen (hide sensitive info).
- Write down which MFA method you chose and why.
Reflection
- How does MFA change the way attackers try to break into accounts?
- Which accounts should you secure first with MFA?
- How would you explain MFA to a user who feels it’s “too much hassle”?
By enabling MFA on your accounts, you’re taking a step that even many professionals overlook. It’s one of the easiest and most powerful ways to protect your digital life.

Leave a comment